Wednesday, April 6, 2011

Bye bye flat and yellow..

Mom came over this weekend and helped me paint the kitchen.  Besides fixing up the walls a little, I've been stripping paint from some of the woodwork.  You can see a little bit of that in the pictures, but I'll reserve that process for its own post when I'm done.

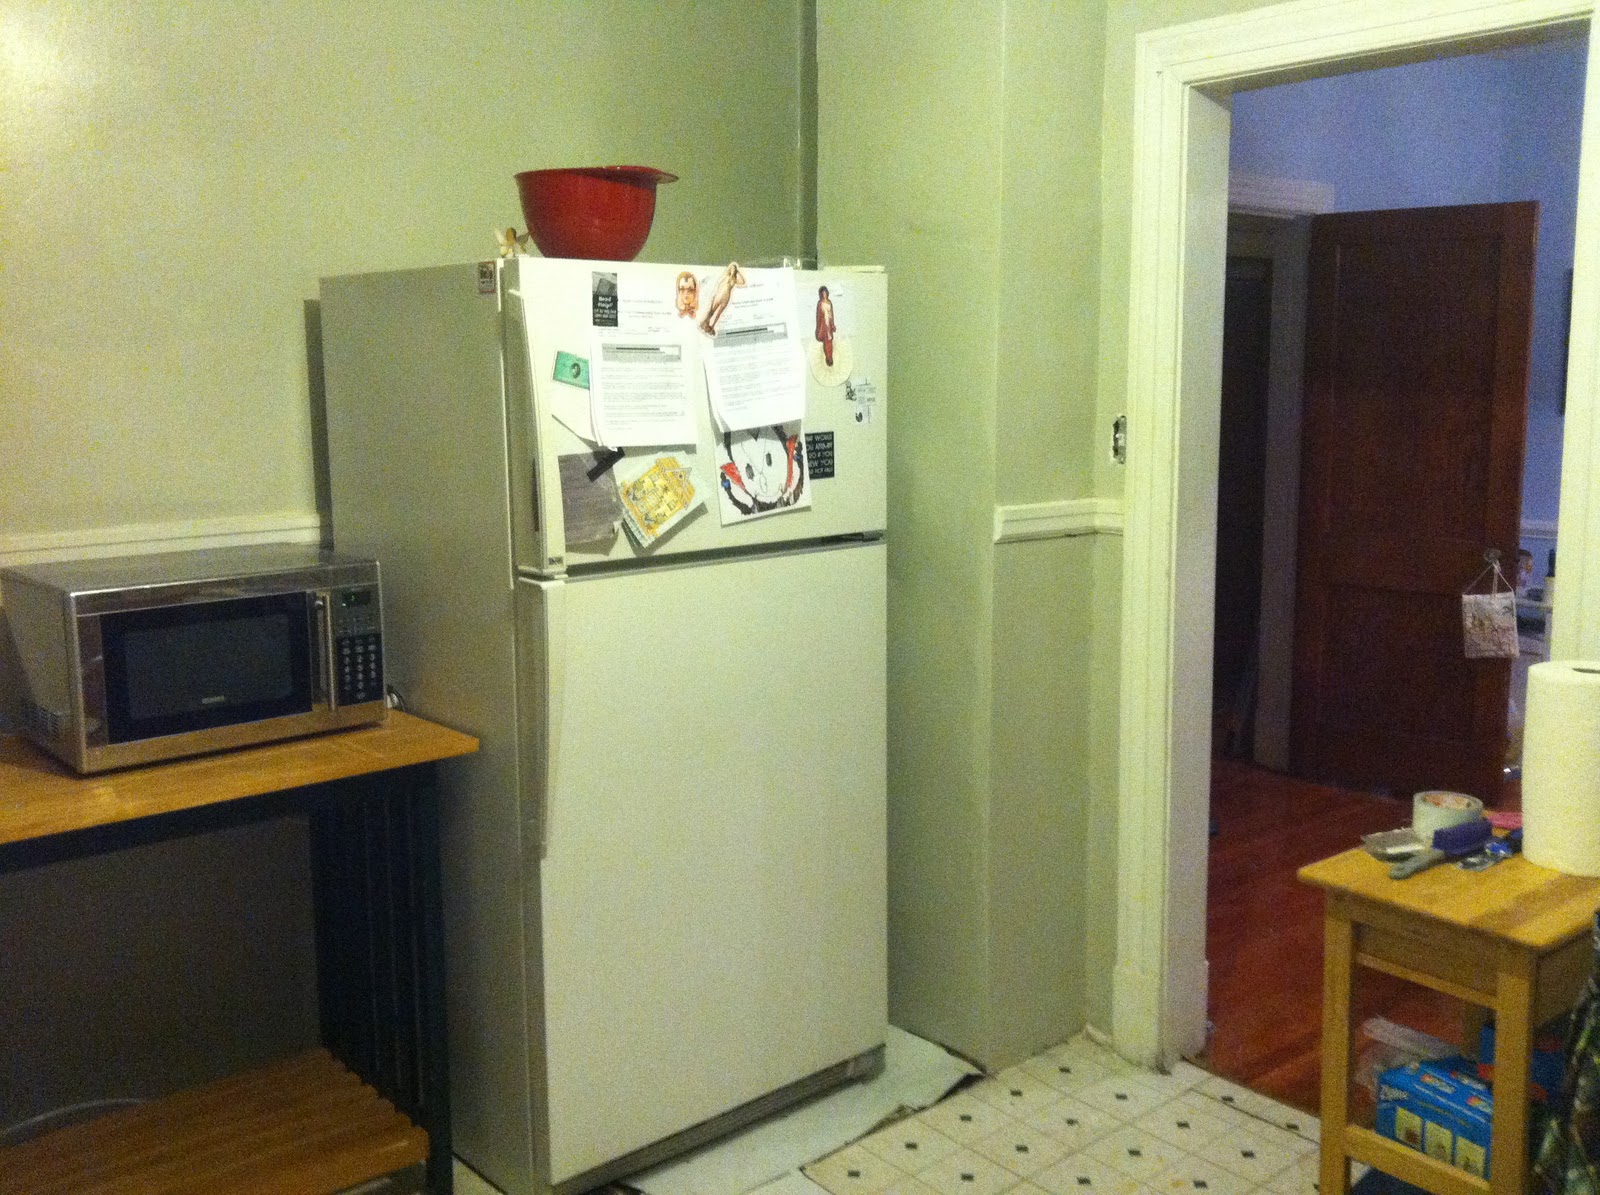
Here's the kitchen when I bought the house:

The walls don't actually curve, that's a combination of three photos taken from the same angle across the kitchen

See that wallpaper border up and on the right?  It's held up with GORILLA GLUE!!!

I tore that sucker down.


I don't think you need pictures of my primer, but you can check out the snazzy paint I (finally) picked out, it's Eddie Bauer/Valspar Travertine and I chose it after painting my friend's living room with the same color, and then I plan on using Benjamin Moore Icicle for the trim and cabinets.

After!


Of course the Travertine isn't nearly that brown, this is a picture of it in my kitchen, with a sample of the Icicle:


By now it probably looks like I have no idea where I'm going with all this, but trust me, there is a method to my madness.  I'll share a few inspiration pictures before I head off to bed for the night:


(If you have the source for this one, please share!) 


Long time no blog!

Contrary to what my blog makes it look like, I HAVE been doing some work.  Mainly on the kitchen and a little bit tackling the jungle in my backyard.

The area in the corner of the kitchen where the old furnace was went from this:


to this:

First off, in the kitchen, I tore down a bunch of crumbling plaster over the old furnace chimney.

A lot of people thought I should finish exposing the brick and seal it.  I didn't like the look in my kitchen,  as opposed to say, a modern loft or townhouse in the city.  It just didn't work for what I want to do here.

So I bought some small pieces of drywall.  Home Depot sells them in manageable 3'x3' (I think?) squares so I didn't have to cut down a full-sized sheet of drywall.

I tried several methods of measuring the space that stuck out where I couldn't break up the concrete around the vent hole into the chimney.  I tried lipstick, I tried brown paper.. in the end I just kind of guessed at it and kept cutting it back 'til it fit.


Before I put up the drywall, I filled the space around the old pipe with spray foam insulation and primed EVERYTHING with an oil-based primer.

after that I smoothed everything as much as I could with patching compound and decided that eventually, I'm just going to frame the whole thing in with drywall.

Sunday, October 24, 2010

Squirrel!

Remember how I was working on the kitchen?  Yeah.. well I was helping someone move and she had a nice looooong, organized closet.  I have this:


That closet on the right is the one with pipes retrofitted into it.  Moisture = not good for clothes!!

This is what I eventually want to do

I want to flip the tiny bedroom closet into the bathroom for a pantry.  Then, i want to close in the old doorway and frame and build an 8' closet in that corner of the room.  I think that corner is pretty much unusable anyway, and the bedroom needs a modern closet if you ask me.

For now, since I'm not framing any new walls at least until I finish the kitchen, I went to Home Depot and bought closet organizing hardware and build a temporary closet area in the corner of my bedroom.


I was worried that the walls wouldn't support the weight of all my clothes, so I was extra thorough in mounting it.  I used screws and anchors in the studs, then put toggle bolts in the holes that didn't have studs behind them.  I think it's pretty secure.  Unfortunately, I got shelves that were a little bit too long.  So I'm going to return one of the shelves and the corresponding rod, replace it with shorter ones and use the rounded rod to make that corner usable.  Add some fancy hangers and my extensive wardrobe, and I have a closet!

Sunday, October 17, 2010

Back on again!


Today I started working on the house again, and it feels gooood.

I picked out some paint samples at Lowes and put them on the walls and got started removing more painted over wall paper.  Using my handy-dandy thrift store purchased steamer, it came off like a candy wrapper, no problem, right?!


Wrong.

The wallpaper was applied directly on top of the drywall paper.  So off it came.  I've done a little research and learned that I will probably have to put a "skim coat" of drywall compound over it to give it a new surface.  That is, if i don't want to put a thin layer of drywall over what's there (and I don't.)  Luckily, my research didn't stop there.  I then learned that if I don't want bubbles, I'd better SEAL the paper first before applying any compound.  


Meanwhile...

My hero was re-caulking my tub.  Whoever re-did the bathroom last removed some of the walls, put drywall on top of others, and installed a tub/shower surround over PEG BOARD.  Seriously.  I have pegboard walls.  And, of course, painted over wallpaper.  


The surround had a border of caulk strip between it and the tub and it was pulling away, leaving an adhesive exposed to collect dirt and other nastiness.  Gross!  He peeled it off, cleaned up the messy caulk underneath, and put down a nice, clean bead of caulk like a pro.  


This is still a temporary solution, as I have every intention of taking it all down and putting up a proper tile surround.

P.S. Do not EVER do a Google Image Search for "rubber caulk strip" without turning safe search ON!!!

Monday, August 23, 2010

House of Blues

I've been convinced not to paint my entire house the same shade of blue, but that didn't stop me from painting two rooms different shades of blue!

It's hard to tell here, but this color is actually Valspar "Novella Blue"


In several of the pictures, it came out looking very aqua-like


The view from the primed dining room..


See what I mean about aqua??  The dining room color is pretty accurate, though.  It's Valspar Blue Mist:


And I don't know if you've noticed yet.. but that couch should look very, very familiar.


Yup, it's THAT couch.  I bought it.  And not even off of Craigslist!  The table is from Craigslist though, formerly of Ikea.

Oh my goodness..

Have I really not posted ANYTHING but craigslist couch updates?  Shame on me.

Here's a quick little update before I make another long "what should I do" post.

I finished the floors and they look great.  I ended up using 4 coats of polyurethane instead of the 3 I planned (and the 5 that maybe I should have done) and I used two different kinds of polyurethane.  On the first two coats, I used Minwax Fast-Drying Polyurethane with a gloss finish.  I didn't sand between these coats and I started to feel bad about it so I sanded after the second coat and switched to Minwax Super-Fast Drying Polyurethane for Floors, because supposedly, you don't have to sand between coats if you don't let it dry for too long.  Well, I came back after the 3rd coat and hated it.  there were thin spots everywhere.  I did the last coat with the original Polyurethane and was happy again.

Some pictures from the process..


Down to the wood!


Choosing the stain..
stain, no gloss


A moth landed in the wet polyurethane!
I felt the need to add a reminder of what the floors USED to look like..